| news |
| gallery |
| plans free |
| registration |
| ideas |
| information |
| forum |
| guestbook |
| buggy links |
| contact us |
Опыт зарубежного коллеги
В этом фото репортаже паказывается как поэтапно, но обобщенно, собиралась его Багги
 Вот что у него должно было получиться по завешению...
My son Jeremy saw the design from Edge Products in WA and was eager to make one with a bit of help from dad. Unlike the Victa 125cc powered go-kart, this beast is powered by a four-cylinder water-cooled Kawasaki GZ750 engine. The frame is very substantial with plenty of cross bracing. The driver sits inside a steel frame for added protection. One of the things we have found is that the frame was too short for my very tall son (182cm) to sit in comfortably. The only option was to cut it at strategic points and add 150mm into it. Now he is very happy! The plans are available at a very reasonable price from Edge Products and they deliver anywhere in the world. Please don't ask me for mine as refusal often offends. And I'm still using them!
| The lower frame section in a trial assembly prior to welding. |  |
| The roll front cage bar being bent to shape. |  |
| The front roll bar after bending and cutting to length. |  |
| The basic chassis assembled ready for fitting the front stays and suspension mounts. | 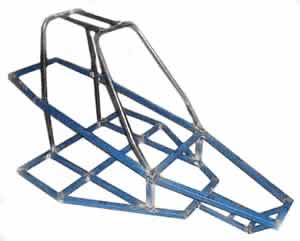 |
| A closeup of the front stays and suspension mounting points. | 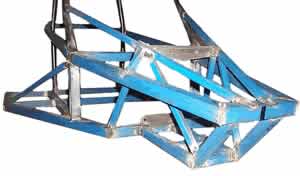 |
| The buggy is taking shape. The frame is almost complete. The seat and steering wheel have been added | 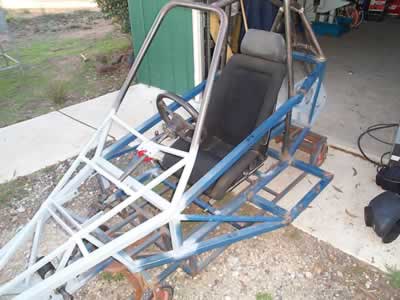 |
| The front stub axle was drilled through to provide a good seat for welding to the kingpin post. The drill table was tilted to the required angle and a small pilot hole was put through before the main drill. Use a drill the same diameter as your kingpin post. | 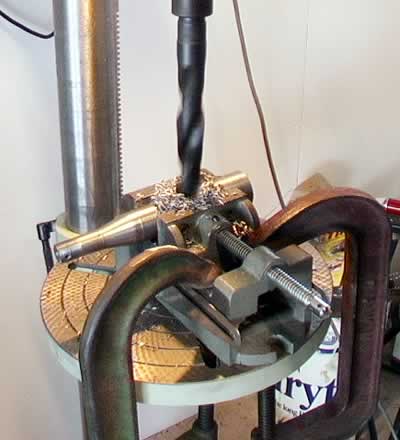 |
| The end result after the waste end had been removed. This is a good way to ensure correct angle and vertical alignment relative to the angle. | 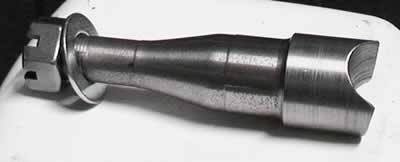 |
| The complete stub axle and hub assembly. | 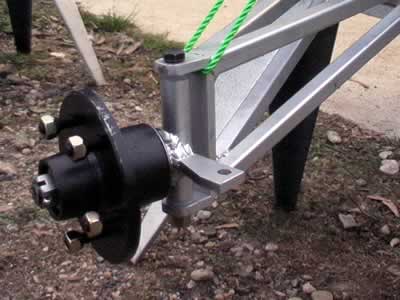 |
| The front suspension arm is almost complete. | 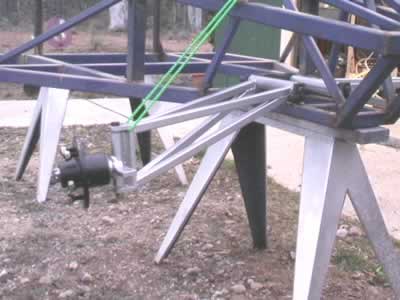 |
| A look at the steering wheel and front-end. | 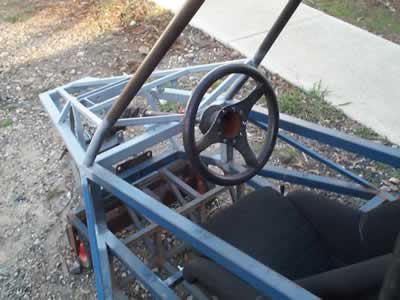 |
| A view from the rear of the buggy. The rear suspension has not been prepared as yet. |  |
| The pedal boxes mounted ready for action. | 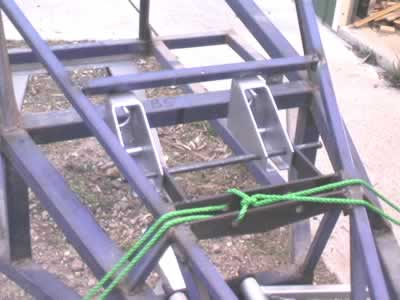 |
| Now things are getting serious! A trial fit of the engine, while the dog has a nap in the background. | 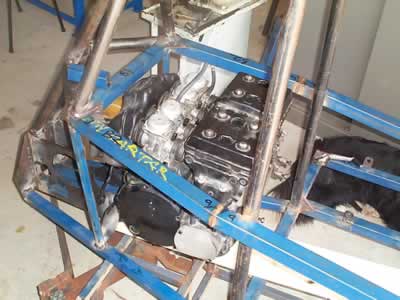 |
| The motor mounting continues and the rear drive is taking shape. | 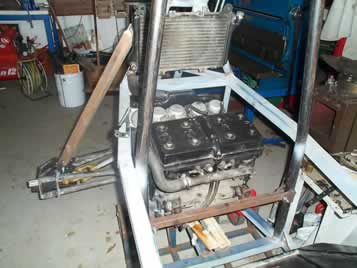 |
| The stick will be replaced with proper suspension. I'ts just keeping the rear drive unit in place for fitting the PTO system. | 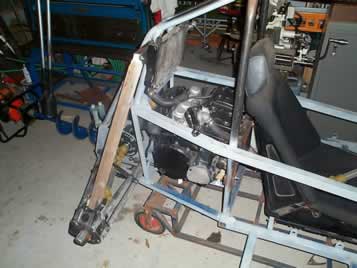 |
| The steering wheel is an idea from Jeremy so it can be removed if required to allow the driver to enter or leave the cabin. It is also adjustable for different length arms. | 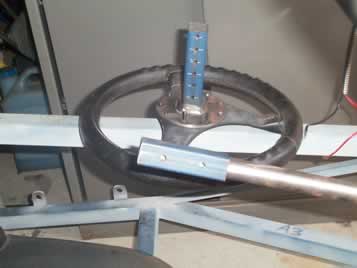 |
| Now we have headlights and nowhere to go! | 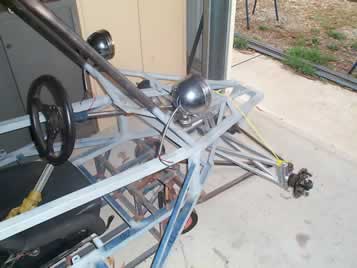 |
| Just a pretend shot for motivation. These aren't the wheels we will be using but it looks good! |  |
| A view of the rear drive bracket. The body is sitting on a mobile carriage so we can easily move it around during construction | 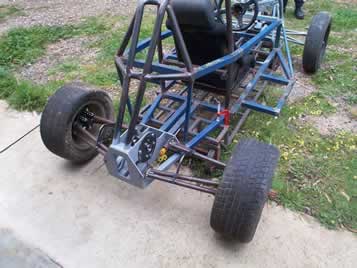 |